
Because of this pandemic, the number of people shopping online has multiplied, and it is still rising to this very moment. With nothing else to do, people tend to visit websites that are selling products that they usually want to buy, such as shoes, dresses, electronic devices, and many more. In this article, you will learn Steps on How to Use WordPress as an eCommerce Store.
Knowing that online shopping is a trend, especially in these times, a lot of people want to get involved with it and would want to know how to create an E-commerce store. Well, then let me teach you how to create your very own eCommerce store by using WordPress. Let’s get started then!
1. Get a Domain Name and a Hosting Provider
Before you can create a website, it is important to have a hosting provider and a domain name first. Your domain name is what appears on the top bar of your browser, just like this:

Some companies only provide domain name registration, but the majority provide both domain name and web hosting services. Some of the commonly good registrars are Domain.com, GoDaddy, and NameCheap. I would not recommend NetworkSolutions though they are fairly good, they don’t support adding IPv6 on their user interface, you need to email them to have IPv6 value to be added to the domain, they called it glue record. Think carefully about your domain name, because it is how people are going to reach your website.
There are hundreds of thousands of web servers available, the most majority of which match the WordPress basic criteria, but picking one out of the crowd can be difficult. WordPress thrives in a rich hosting environment, it would also depend on the requirement of the application, not all hosting is created equal.
For the hosting provider, I suggest that you use Bluehost.com because WordPress.org officially recommends them. All you have to do is go to their website, bluehost.com, fill up the form, and you are good to go. You can also create your domain name on the site.

After creating your account, there will be a button there that indicates “start building”. Click that button, and you will be taken to the back end of your WordPress account.
2. Install WordPress and choose a Theme
Right after you’ve chosen a Host Provider and a domain name for your eCommerce website, you will then have to secure your WordPress website. You can look it up on Youtube to know-how. Now that you are in your WordPress already, the first thing that you must do is to change the theme. The suggested theme that everyone seems to be using is the Astra theme. This theme is basically what other online store websites look like and I’m sure that it is the website that you want to follow.
Astra is a fast, highly customizable, and super clean theme that is designed to convert better and boost your store’s sales. This is the them

3. Install the Woocommerce plugin
WooCommerce is a flexible, open-source commerce solution built on WordPress. Based on the plugin page on the WordPress.org website, WooCommerce has over 5 million active installations. It is the most customizable eCommerce platform for building your online business.
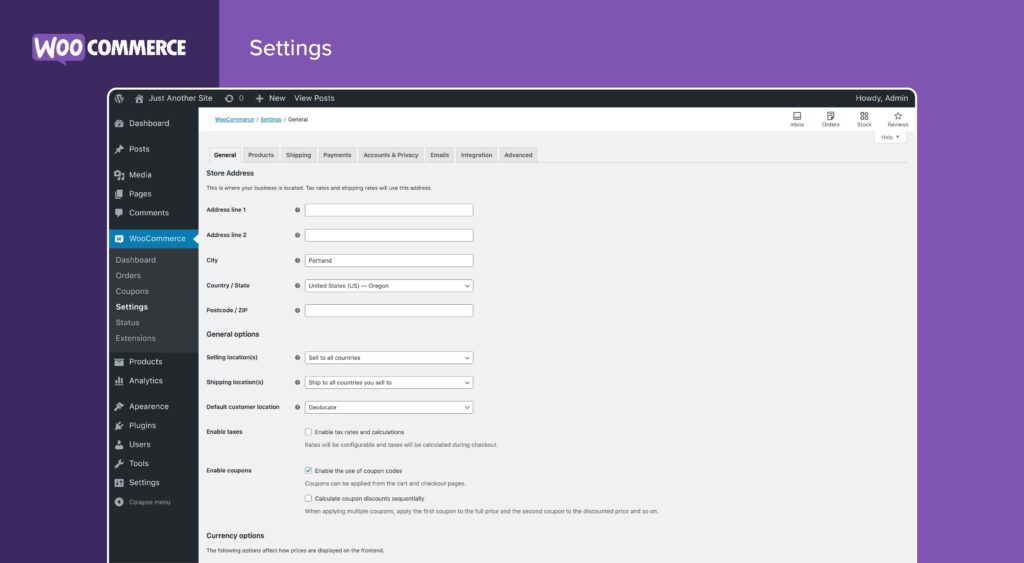
WooCommerce isn’t like Shopify or BigCommerce in that it’s not a standalone hosted eCommerce platform. It’s a plugin, or extension, for websites developed using WordPress, the free and open-source content management system that powers the vast majority of websites around the world. It’s simple to get started with WooCommerce once you’ve started creating your website because it’s a plugin. Here’s the URL to their guide https://woocommerce.com/documentation/