
This article is about blocking IPs in Pantheon for sites using the WordPress CMS. Prevent unwanted traffic incidents that might result in site outages and billing overages.
Review the nginx-access.log.
Download the nginx-access.log on the LIVE environment. The logs can be accessed using SFTP or by using the provided script from Pantheon’s documentation. Be sure to combine all the logs for a day if the site plan has multiple application containers. Identify the IP that has the highest number of visits and verify it with https://www.abuseipdb.com/
$ cat ~/site-logs/nginx-access.log | awk -F\" '{print $8}' | awk '{print $1}' | sort -n | uniq -c | sort -nr | head -20
Use a WordPress Plugin to Block IPs
Be sure to install the plugin WP Traffic Jammer that can be downloaded at WordPress.org https://wordpress.org/plugins/traffic-jammer. The plugin has a wp-cli command that can be used on a remote wp-cli call using Terminus. It also has a settings page to add a single IP or an IP range.
Block the IP using Terminus.
Use remote wp-cli via terminus to block the IP.
$ terminus wp <sitename>.<env> -- jam block <ip>
To unblock the IP.
$ terminus wp <sitename>.<env> -- jam unblock <ip>
Block the IP on the WordPress Admin Dashboard.
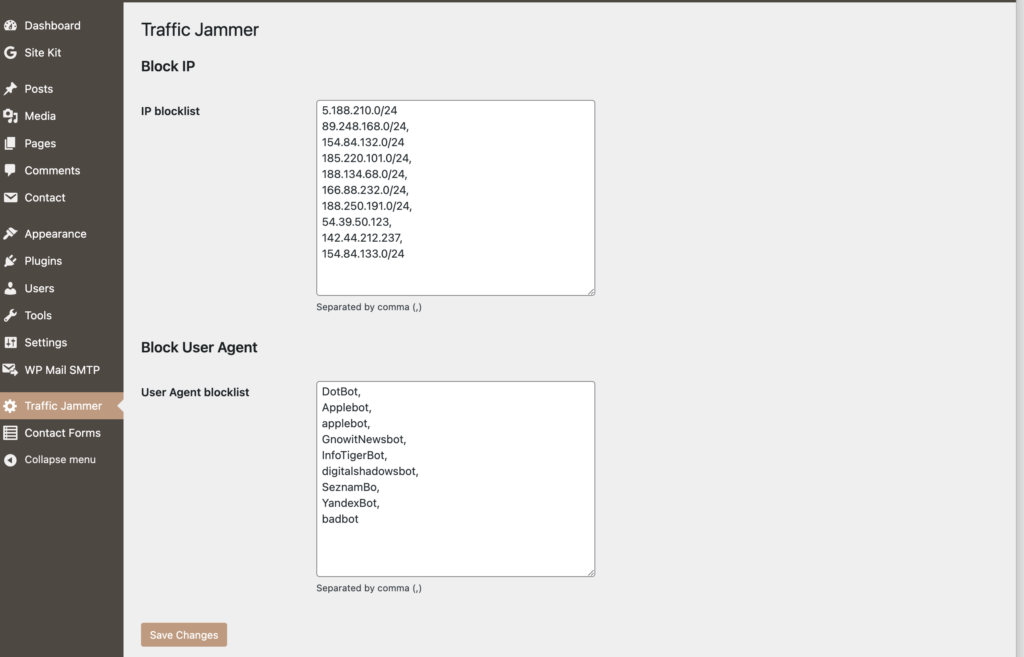
On the Admin Dashboard, you would see the left side menu, click “Traffic Jammer” and add a single IP or IPs, CIDR format can be also used for IP ranges.
Block the IP using a PHP Snippet
Use a PHP snippet that can be added to wp-config.php file. This offers an advantage since it would be triggered before loading all the plugins and themes.
if ( $_SERVER['REMOTE_ADDR'] == '154.84.133.8' ) {
  header( 'HTTP/1.0 403 Forbidden' );
  exit;
}