SFTP

SSH File Transfer Protocol (also known as Secure File Transfer Protocol or SFTP) is a network protocol that allows users to view, transfer, and handle files over a secure data stream.

How can I move a WordPress Installation from Local Server to a Live site?

  1. Backup your local WordPress site: Before you start the migration process, make sure to back up your local WordPress site. You can use a plugin like UpdraftPlus or manually back up your site by copying the files and exporting the database.
  2. Export the local database: To export the database, you would need a MySQL application, like:
    • PHPMyAdmin
    • MySQL Workbench
    • Navicat for MySQL

select the database associated with your WordPress site, and click on the Export button. Save the exported file as a .sql file.

  1. Create a new database on your live server: You’ll need to create a new database for your live site. You can do this through your web host’s control panel (such as cPanel or Plesk).
  2. Import the database to the live server: Log in to the phpMyAdmin or your web host’s MySQL manager on your live server and select the newly created database. Click on the Import tab and select the .sql file from your local site to import it to the live database.
  3. Update the WordPress configuration file: You’ll need to update the WordPress configuration file (wp-config.php) with the new database information for your live site.
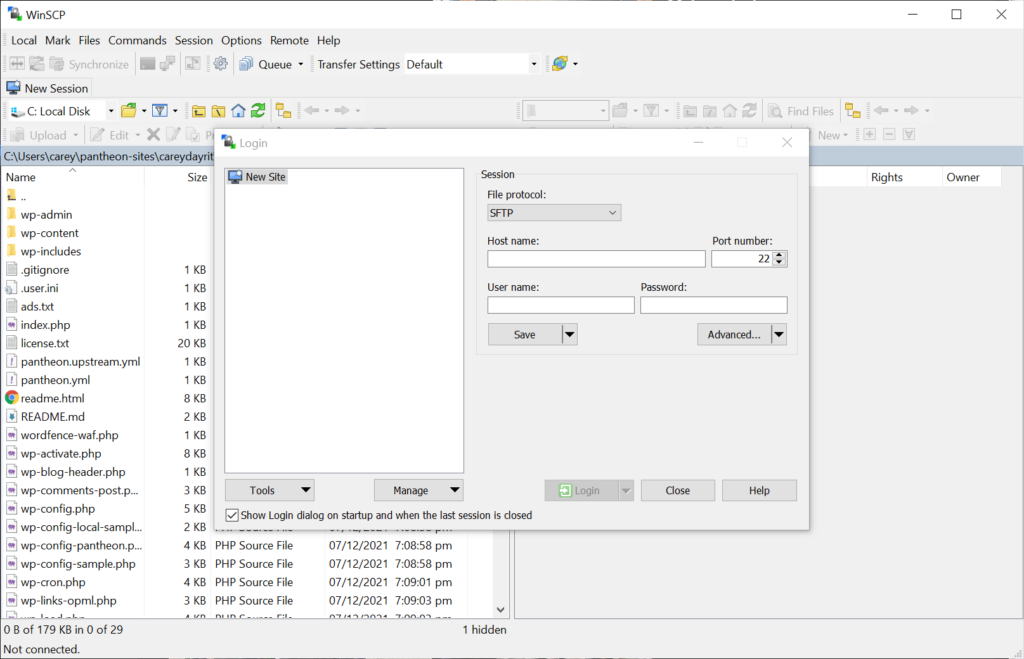
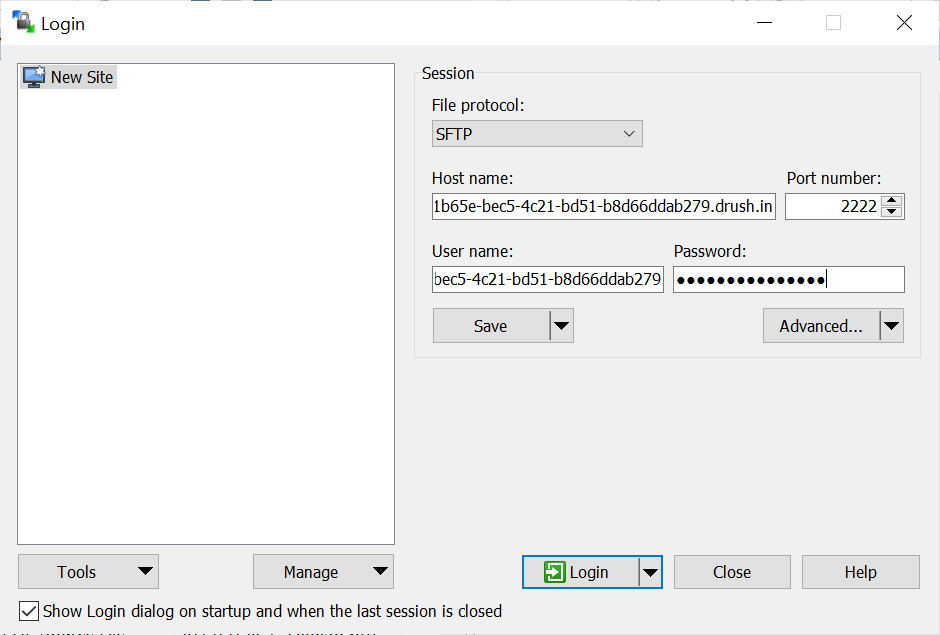
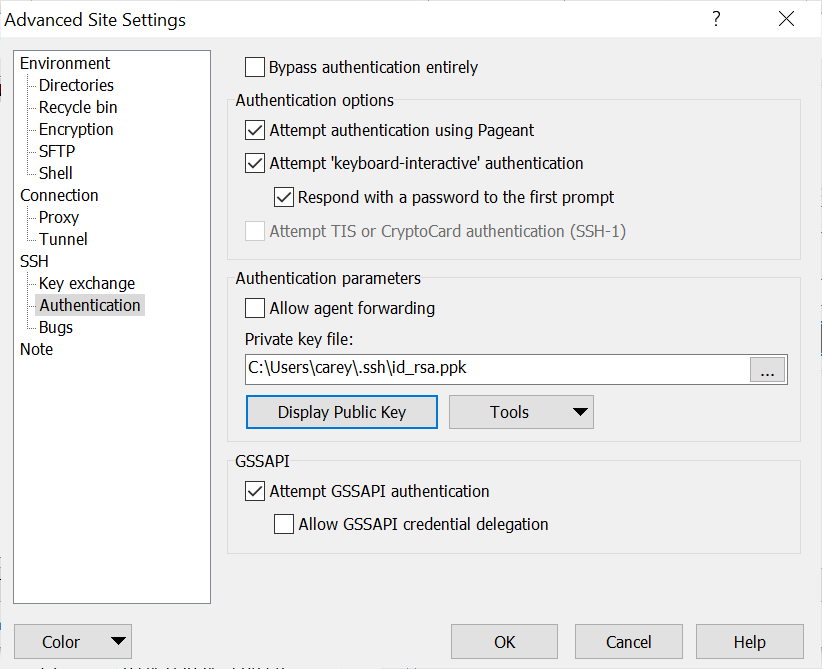
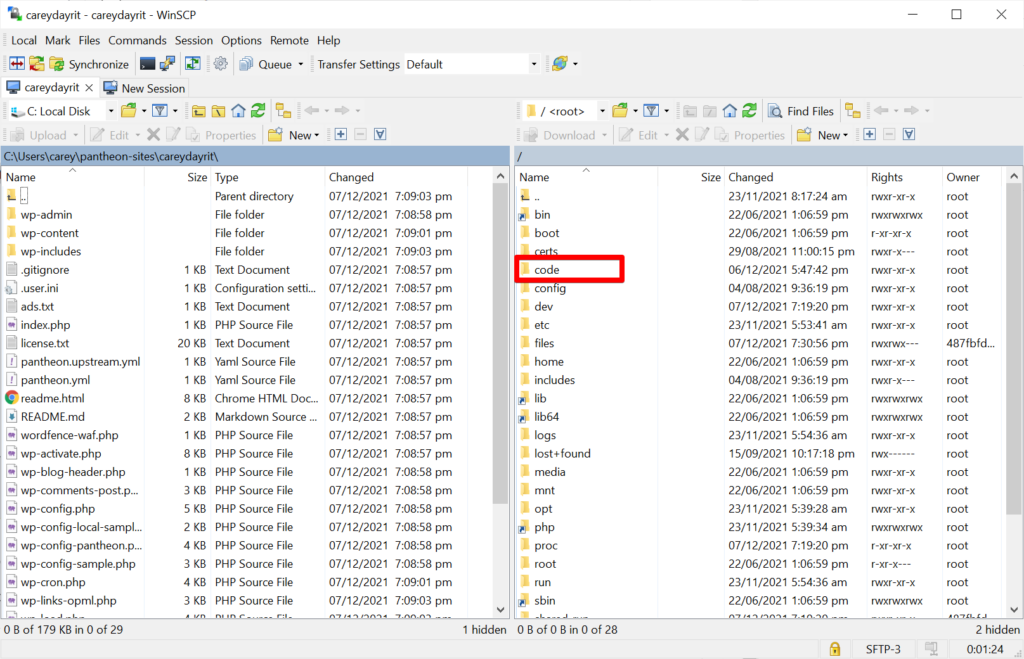
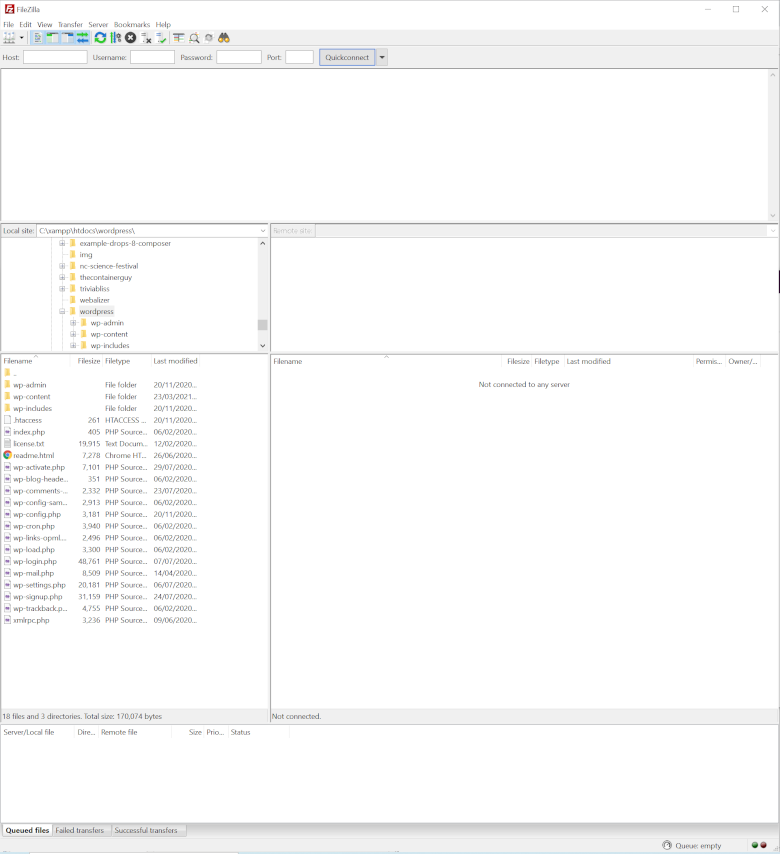
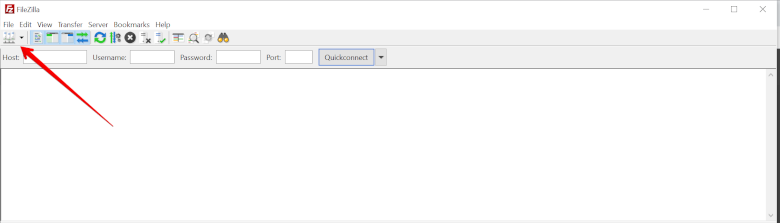
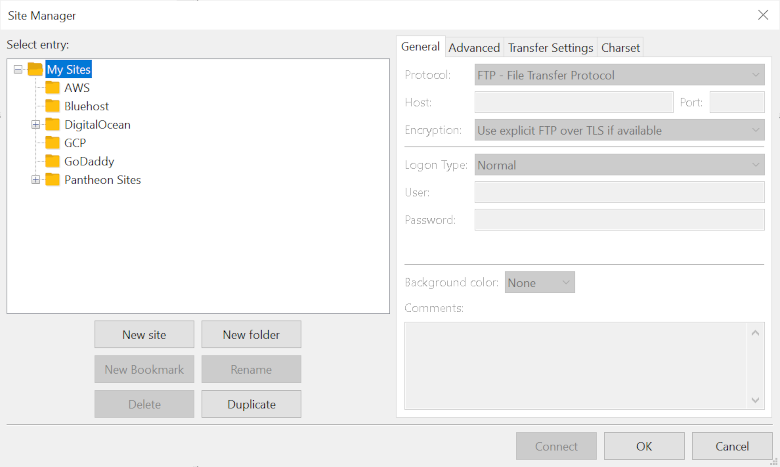
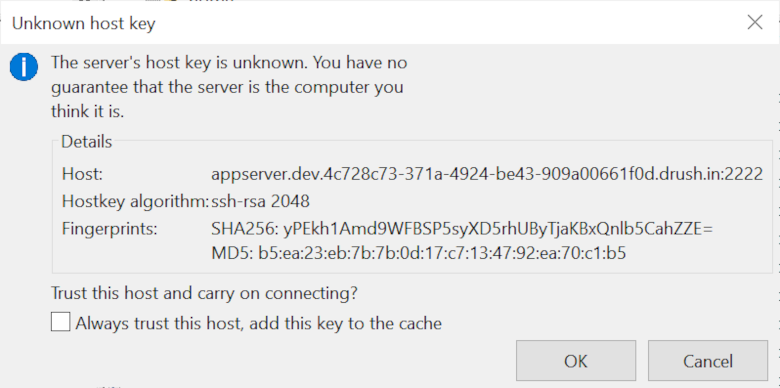
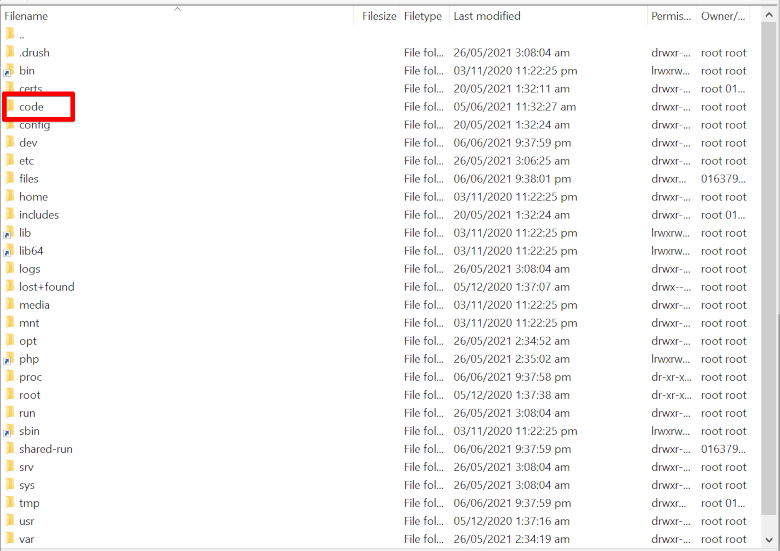
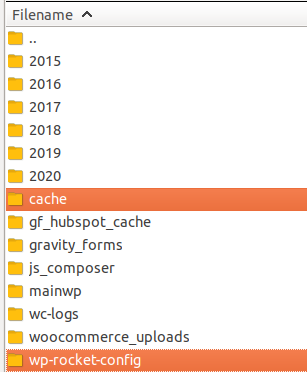
  4. Upload the files to the live server: Use an FTP client like FileZilla to upload the entire WordPress folder from your local site to your live server. You can either upload the files to the root directory of your domain or a subdirectory, depending on where you want your live site to be accessible.
  5. Update URLs in the database: If you are moving your site to a new domain or URL, you’ll need to update the URLs in the database. You can use a plugin like Better Search Replace or run a SQL query in phpMyAdmin to change the URLs. This is an excellent tool for replacing the URLs https://rudrastyh.com/sql-queries-to-change-wordpress-website-domain.
  6. Test your live site: After completing the above steps, check your live site to make sure everything is working correctly.

Note: Before making any changes to your live site, it’s always a good idea to make a backup of your live site in case you need to revert to the previous version.

WinSCP on Pantheon

WinSCP is a popular free SFTP and FTP client for Windows, a powerful file manager that allows you to upload and download files on the Pantheon server. It provides a user-friendly interface for copying files between a local and remote computer using the FTP or SFTP protocol. This software is available only on Microsoft Windows.

Main Features

  • All common operations with files
  • Graphical Interface
  • Integrated text editor
  • Scripting and task automation
  • Translated into many languages

A complete WinSCP guide and an active user forum are freely accessible at the WinSCP site.

Download WinSCP

If you don’t already have WinSCP installed on your computer, download the most recent update and install it from their website.

Open WinSCP

Open WinSCP by accessing the application on the Windows Start menu. Make sure you have your site’s Pantheon SFTP connection information on hand. See the guidelines on how to find the SFTP credentials for your site if you need to get the connection details.

WinSCP

Enter the details from the Site Dashboard Connection Info from Pantheon. Use the password that is being used when logging into the Pantheon User Dashboard. Do check the protocol must be in SFTP and the port number is 2222.

Alternatively, you can also have passwordless access by using an SSH private key. Pantheon doesn’t offer SSH access to a shell environment but it allows it to be used on SFTP protocol.

You should add your public SSH key into your Pantheon account to get the most out of it. SSH keys are a better option for authentication than a basic password since they provide additional security protection. No matter how many sites you work on, you will only need to do this once. See Generate and Add SSH Keys for further information.

Click the Advanced select button, under SSH then click Authentication. Enter a private key in PPK format.

To get the site’s root simply navigate to the code folder and you will be able to download and upload files as normal.

Filezilla on Pantheon

FileZilla is an FTP client that allows you to upload and import files to and from the Pantheon server. This app allows you to copy several files at the same time. It is a cross-platform software that is available on Windows, Mac OS, and Linux.

This article will walk you through the steps of downloading and uploading your WordPress or Drupal site on Pantheon.

Download Filezilla

If you don’t already have FileZilla installed, grab the most recent update and install it on your computer.

Start Filezilla

Start FileZilla by looking for the application on the start menu or search bar on Windows, on the applications folder on Mac OS, and search for Ubuntu. Keep in mind that Pantheon uses a non-standard port for SFTP, and the protocol must be SFTP rather than FTP.

Create a New Site

Click the Site Manager Icon, that would be the Icon under the File menu.

This would prompt the Site Manager window that would allow a new connection to be made on Filezilla.

Click the New Site button and put details from the Site Dashboard Connection Info from Pantheon. Use the password that is being used on Pantheon User Dashboard. Make sure the Protocol is in SFTP and is using port 2222.

Select to accept the server’s host key for the current session so it is stored in the cache. This will allow you to connect to the server and manage your files for the current session.

To get to the site’s root simply navigate to the code folder and you will be able to continue managing your files as normal.

Installing WP Rocket on Pantheon Platform

Some people do find a hard time installing WP Rocket on Pantheon since it creates files on a write-protect folder set by Pantheon Platform.

The solution was to create a symlink and point to the write permitted folder which is the wp-content/uploads folder.

Please take note that this step is not recommended to be used on any SFTP app but only on the SFTP command line. Since creating symlinks over SFTP have inconsistencies between clients. The process below was tested using MacBook Pro (Mojave), Ubuntu 18.04.4 LTS, and Windows 10 (Release 1909)

  • Create a folder cache and wp-rocket-config on wp-content/uploads folder on DEV first (later would be TEST and LIVE).
  • Remove the wp-content/cache folder. If there is a wp-content/wp-rocket-config folder, remove it also.
  • Create a symlink via the terminal command line.

Note: Be sure that you are in the wp-content folder.

$ ln -s ./uploads/cache cache
$ ln -s ./uploads/wp-rocket-config wp-rocket-config
  • Commit and push the symlink via git.
  • Create the folder cache and wp-rocket-config in wp-content/uploads​ for TEST and LIVE.
  • Commit and deploy code to TEST and LIVE.
  • Activate the WP-Rocket plugin and apply the license code.

Hopefully, this will help users install the WP-Rocket Plugin on the Pantheon Platform.

Happy Coding.